1/30/13

statue Bust Base Cration 3

Today, I created the stand for the statue, I created the image below and began to rotate it when I noticed a human error, I had forgotten to make them perfectly attachable pieces. I began in the first image below creating the geometry to resolve this issue in the below images. This would mean that I would have to go into the normal map and clean up the UV's. I will circle the issue in one of the below images


In the final image, I decided to repeat the balls around the base of the statue by using the exact same pixel space in the UV's. I also created a rusted copper texture and applied this texture on to the model below.


1/28/13

Statue Bust Base Creation 2

Some screenies of the skull head that I am creating for the statue bust base. They were creating using the same method as the goat head from yesterday. I plan on finishing the posts of the base tonight and then projecting the details from the individual models onto a single attached model of everything.


1/27/13

Statue Bust Base Creation

I have been working on an assignment as of late, we were assigned to build a replica of the base of the statue in these images.


I first created a box in mudbox then unwrapped the box, I imported the box into ZBrush and then went on to create the base mesh from a cube as shown below


I began sculpting more detail onto the mesh and using the QRemesher tool to place polygons where I needed for the horns and such. I ended up with the images below


Then added more detail as shown below


Then I went on to test how this would work by rebuilding the subdivision levels. This would work in the future for when I begin to construct the tower and the skull for the pedestal, as I will have to attach objects together then transfer over the details. I went down to the second subdivision level which was 920 polys, I created a normal map in mudbox for the model and applied it on to render the image below


1/23/13

Procedural Cave Pieces

I have been working on cave procedural pieces today. I created the sections below in 3DS Max and Zbrush. I started by creating a rectangle in 3ds Max, flipping the faces, unwrapping, then I imported it into Zbrush and continued sculpting out rocks and scratches to make it appear as a modern cave. I finished up the model in zbrush then imported the work into mudbox and extracted all of the maps. Once that was done, I fixed any artifacts in the normal map in Mudbox using the clone tool and other means. I ended up with the images below, each model is under 400 polys. The renders where done in 3ds Max.


1/10/13

Stone(d) Wall, Normal Map Fixing

So I decided to project the normal map from the high poly model I created onto the low poly in 3Ds Max. I began cleaning up the base mesh and put the normal onto the model but something was wrong look in the image below! -


I was having an issue with the way the normals were projecting, and this was even before I began cleaning up the mesh, After my cleanup work was done as shown below


I had to go into photoshop to clean up the messy normal map. I started by finding all of my problem areas in the normal. You can see the original normal here and I circled an example of the normal map bending that was going on in the image -


As you can see, warping was happening in certain parts of the model. I opted on fixing this problem by using brushes to create straighter lines, then I went on to take parts of the image and fix up the normal map like you would if you were photo editing. I ended up with this below -


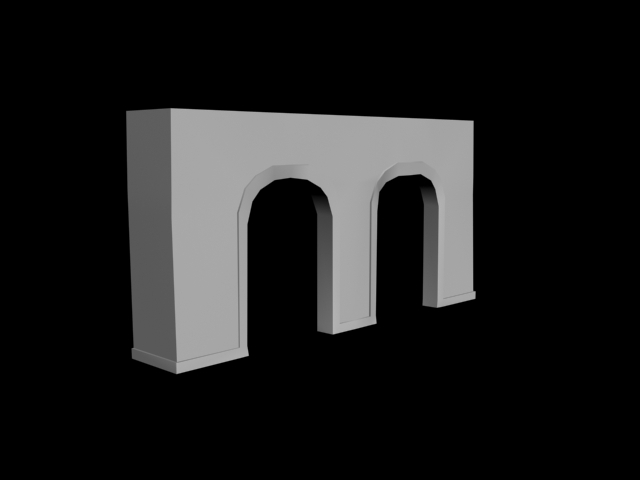
In the end, voila! A much better normal map on the model -


1/9/13

Stone(d) Wall

I have spent the past week learning how to utilize Zbrush into my workflow, the first hurdle was intense and I was feeling slightly overwelmed! I began to embrace the program and after a full day of modeling faces from spheres, I had gotten used to the interface and navigating my way on the screen. I have been working on projects in Zbrush here and their and I am now starting to utilize Zbrush's abilities for Environment art. I started by making a base model here


Then I went into Zbrush and created a couple different bricks like the one below


I brought them into 3ds Max and applied them on a even grid to make a Stencil


Then I stenciled them into the model in Zbrush and ended up creating the model below