A run animation I have been working on. Used CATS in 3ds max and made it to where it can loop. The model it is on is skinned and does the run with no errors. i will upload it the run cycle + the animation in 7 more weeks as its something I am working on at school right now (top secret!)
4/9/13
4/3/13
Making a Stylized Tree Using Zbrush 3DS Max and Mudbox
Yet another Tutorial! This one shows how to make a stylized Tree using a Zbrush, 3ds Max, and Mudbox
Follow @MBCummings
Follow @MBCummings
3/26/13
Escapist Challenge Stylized W.I,P
I am working on the Escapist project on Polycount with a Character Artist friend of mine. The link is here if you want to read more about it/follow - http://www.polycount.com/forum/showthread.php?p=1799981#post1799981T
We have been working some of the assets and getting the scenes ready. Here are the parts of the project I have been working on.


I have been working on assets and the environment artwork for the first part of the scene and texturing it as well as optimizing the geometry. All of the texturing thus far has been in Mudbox, and the normal maps I have done thus far have been baked on in 3DS Max. We have started blocking the scene out and plan on bringing it into Unity or Unreal for the beauty shots.
Follow @MBCummings
We have been working some of the assets and getting the scenes ready. Here are the parts of the project I have been working on.


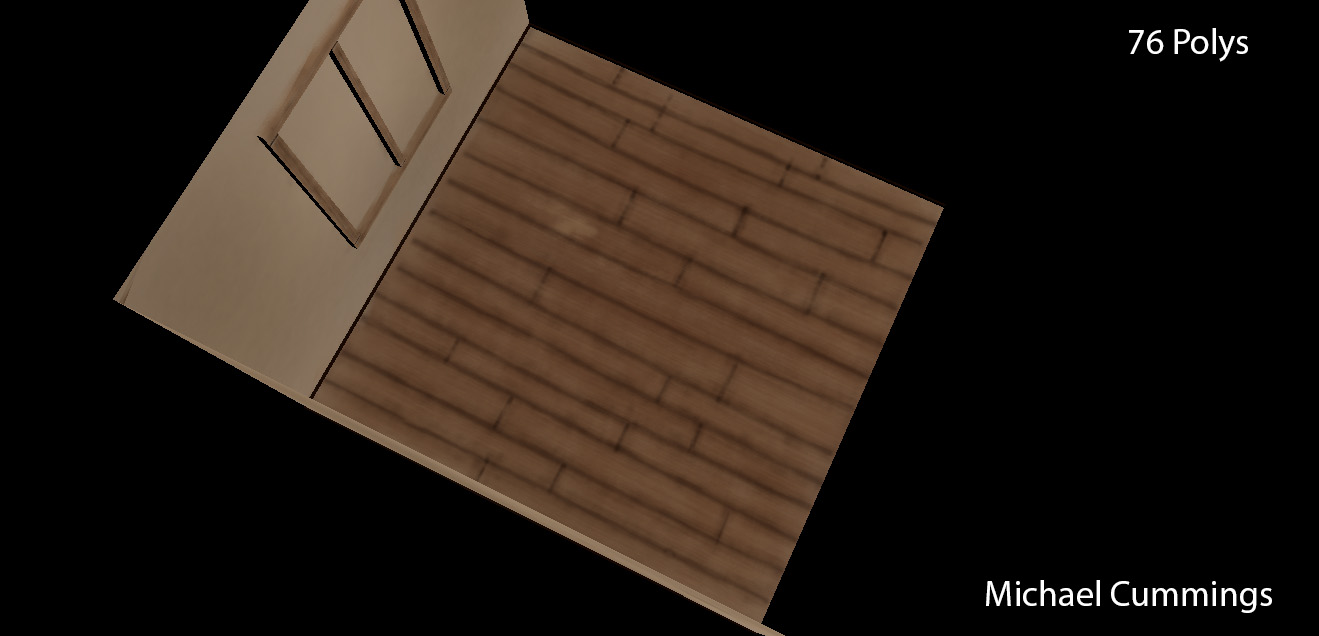

I have been working on assets and the environment artwork for the first part of the scene and texturing it as well as optimizing the geometry. All of the texturing thus far has been in Mudbox, and the normal maps I have done thus far have been baked on in 3DS Max. We have started blocking the scene out and plan on bringing it into Unity or Unreal for the beauty shots.
Follow @MBCummings
3/25/13
Painting Stylized Books In Mudbox
Another Stylized Painting Tutorial! This one involves me painting a book set in Mudbox. The normal map for the books was created in 3ds Max by projecting higher poly books onto a 4 sided box in 3DS Max. Then I brought the normal mapped box into mudbox and painted a fitting texture. Follow @MBCummings
3/14/13
Isolation Room
Here is a scene I have been working on for the last 3 days, this scene is a concept room I had in my head that's occupant has locked himself away from the outside world for solitude. The room is 1023 polys, it has specular maps, normal maps, ambient occlusion maps, bump maps, gloss maps, and lighting in the scene. All textures were created by me and nothing was photo-sourced other than the PlayStation logo and case, the FILA logo, and Magnavox logo, using different effects such as filters and hand painting textures to come up with this. The renders were done in 3DS Max, textures done in Photoshop and Mudbox.


Follow @MBCummings


Follow @MBCummings
3/5/13
Far Cry 3 trophy Knife
These are images of a knife I made from an image of a Far Cry 3 knife. This knife's base mesh was created in 3ds Max, then sculpted on in ZBrush. The decimation was done in Zbrush as well, then I brought the model into 3DS Max and created a retopologized version of the triangulated mesh. Then I went on to Bake the normal map from the high poly to the low poly and rendered it out using V-ray and a scanline renderer. The retopologized knife is 514 polys, the High poly sculpt is 6 million polys.


Follow @MBCummings


Follow @MBCummings
2/26/13
Rock Walls
A few rock walls I created the other day, created in ZBrush and textured in Zbrush. Renders done in Mudbox and ZBrush


 Follow @MBCummings


 Follow @MBCummings
2/9/13
Stylized Concept Tree
I am making a scene over the weekend that I am conceptualizing in my head. The scene will be a house on a hill with a tree growing out of the house around a forested area. I created the tree the other day in zbrush

This tree was created using a Zsphere, then I used sketch on the polygon version of the Z sphere model to bulk out the tree. I created hollows and branches and things of that sort as well.


I also sent a lower poly mesh into 3ds Max after decimating the polycount down in order to retopologize it. I used the freeform tools in 3ds max to create this Tree in a side by side comparison to the decimated tree. The polygon flow is much smoother and more optimized for in game use.

Keep in mind that I am trying to keep the polycount low and as non hyper realistic as possible. So I plan on spending the time to make Painterly textures to go on my models and may possibly avoid normal mapping, but I will probably end up emphasizing more on my ambient occlusion maps as well in the near future.
Follow @MBCummings

This tree was created using a Zsphere, then I used sketch on the polygon version of the Z sphere model to bulk out the tree. I created hollows and branches and things of that sort as well.


I also sent a lower poly mesh into 3ds Max after decimating the polycount down in order to retopologize it. I used the freeform tools in 3ds max to create this Tree in a side by side comparison to the decimated tree. The polygon flow is much smoother and more optimized for in game use.

Keep in mind that I am trying to keep the polycount low and as non hyper realistic as possible. So I plan on spending the time to make Painterly textures to go on my models and may possibly avoid normal mapping, but I will probably end up emphasizing more on my ambient occlusion maps as well in the near future.
Follow @MBCummings
1/30/13
statue Bust Base Cration 3
Today, I created the stand for the statue, I created the image below and began to rotate it when I noticed a human error, I had forgotten to make them perfectly attachable pieces. I began in the first image below creating the geometry to resolve this issue in the below images. This would mean that I would have to go into the normal map and clean up the UV's. I will circle the issue in one of the below images


In the final image, I decided to repeat the balls around the base of the statue by using the exact same pixel space in the UV's. I also created a rusted copper texture and applied this texture on to the model below.


Follow @MBCummings


In the final image, I decided to repeat the balls around the base of the statue by using the exact same pixel space in the UV's. I also created a rusted copper texture and applied this texture on to the model below.


Follow @MBCummings
1/28/13
Statue Bust Base Creation 2
Some screenies of the skull head that I am creating for the statue bust base. They were creating using the same method as the goat head from yesterday. I plan on finishing the posts of the base tonight and then projecting the details from the individual models onto a single attached model of everything.


Follow @MBCummings


Follow @MBCummings
1/27/13
Statue Bust Base Creation
I have been working on an assignment as of late, we were assigned to build a replica of the base of the statue in these images.


I first created a box in mudbox then unwrapped the box, I imported the box into ZBrush and then went on to create the base mesh from a cube as shown below


I began sculpting more detail onto the mesh and using the QRemesher tool to place polygons where I needed for the horns and such. I ended up with the images below


Then added more detail as shown below


Then I went on to test how this would work by rebuilding the subdivision levels. This would work in the future for when I begin to construct the tower and the skull for the pedestal, as I will have to attach objects together then transfer over the details. I went down to the second subdivision level which was 920 polys, I created a normal map in mudbox for the model and applied it on to render the image below

Follow @MBCummings


I first created a box in mudbox then unwrapped the box, I imported the box into ZBrush and then went on to create the base mesh from a cube as shown below


I began sculpting more detail onto the mesh and using the QRemesher tool to place polygons where I needed for the horns and such. I ended up with the images below


Then added more detail as shown below


Then I went on to test how this would work by rebuilding the subdivision levels. This would work in the future for when I begin to construct the tower and the skull for the pedestal, as I will have to attach objects together then transfer over the details. I went down to the second subdivision level which was 920 polys, I created a normal map in mudbox for the model and applied it on to render the image below

Follow @MBCummings
Subscribe to:
Posts (Atom)